本記事ではFUSION360という三次元CADを使って3Dモデルを作成する方法を紹介します。
AUTODESK FUSION360 3Dモデルの作成方法②
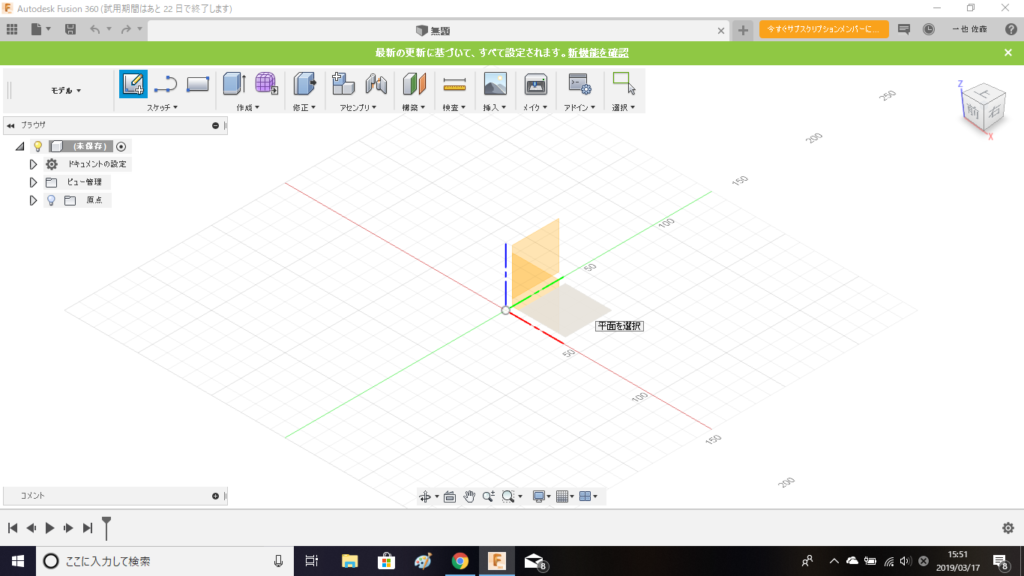
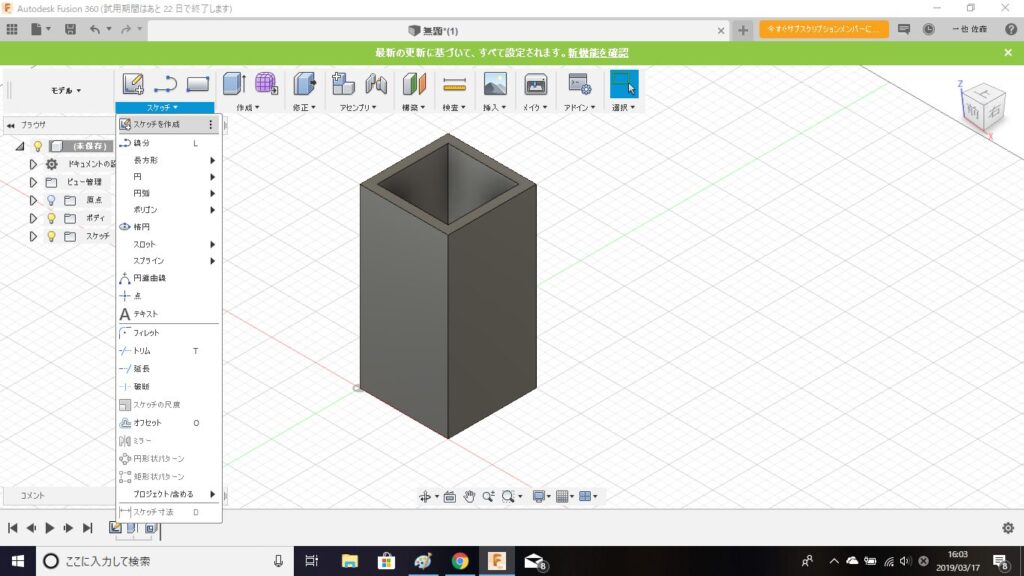
スケッチツールの「スケッチを作成」を選択し、今回は「XY平面」を選択します。
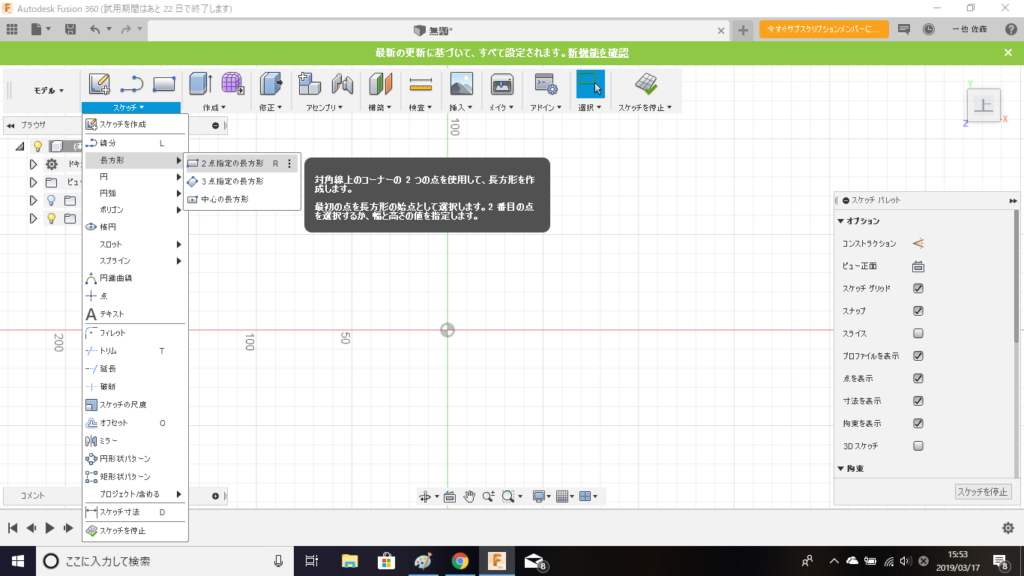
今回は「二点指定の長方形」を作成します。
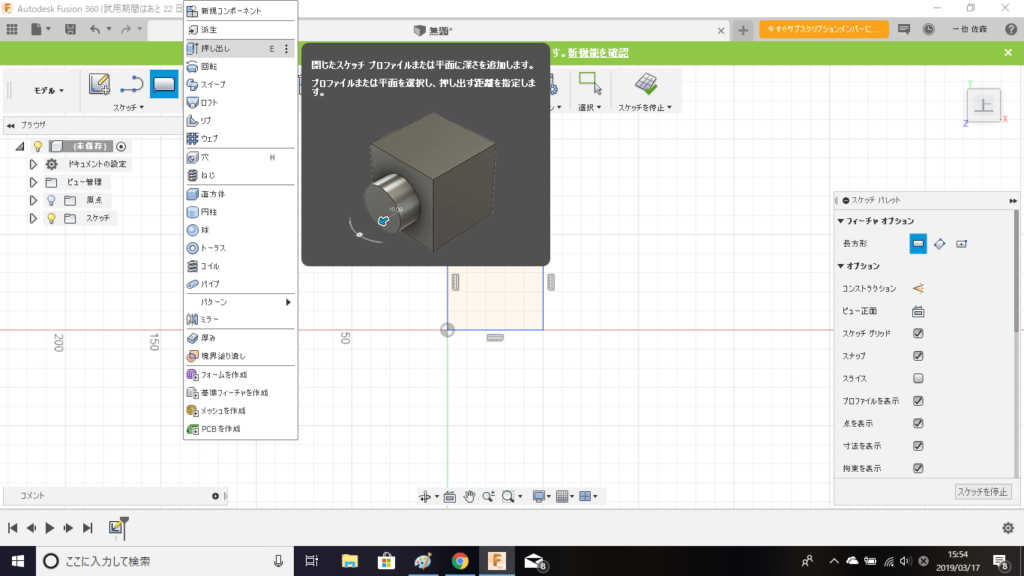
次に、作成ツールの中から「押し出し」を選択します。
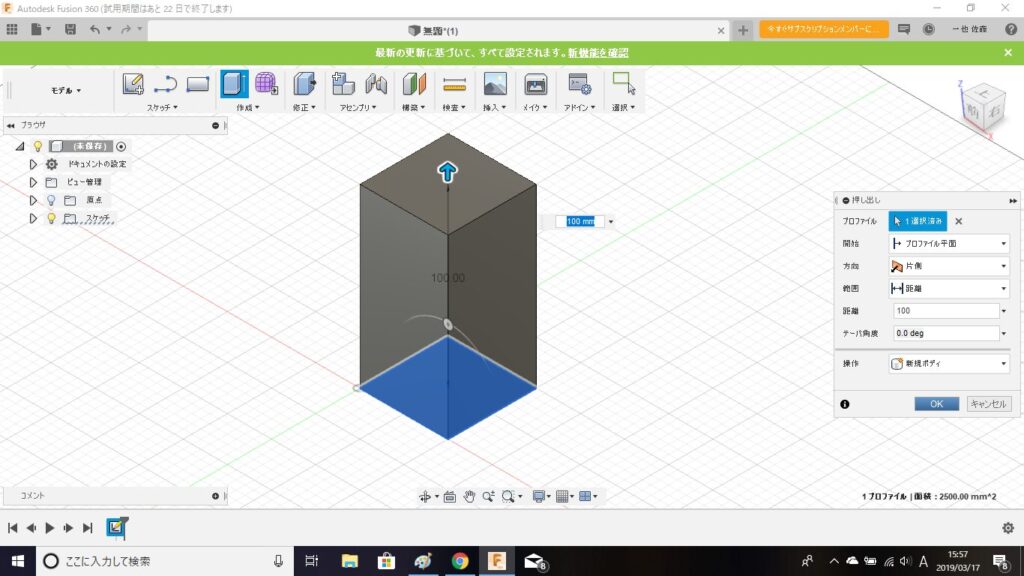
距離「100mm」にしてOKをクリックします。
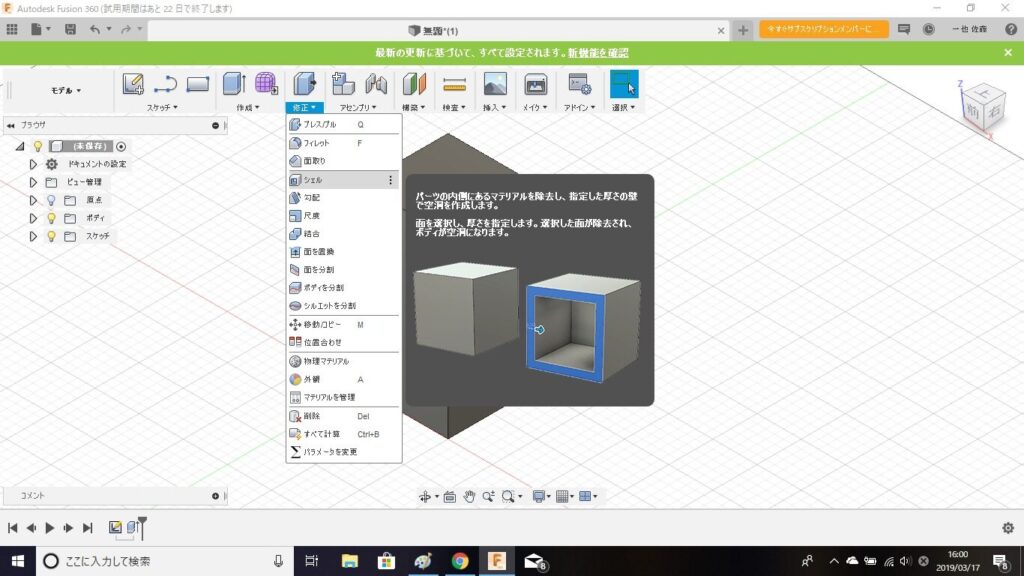
修正ツールの「シェル」を選択します。
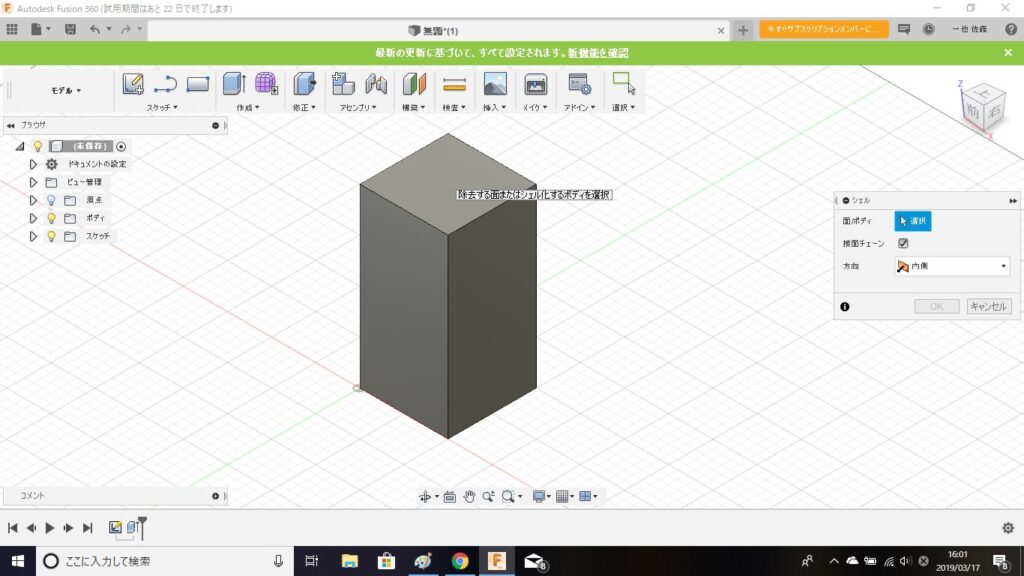
除去する面で上面を指定します。
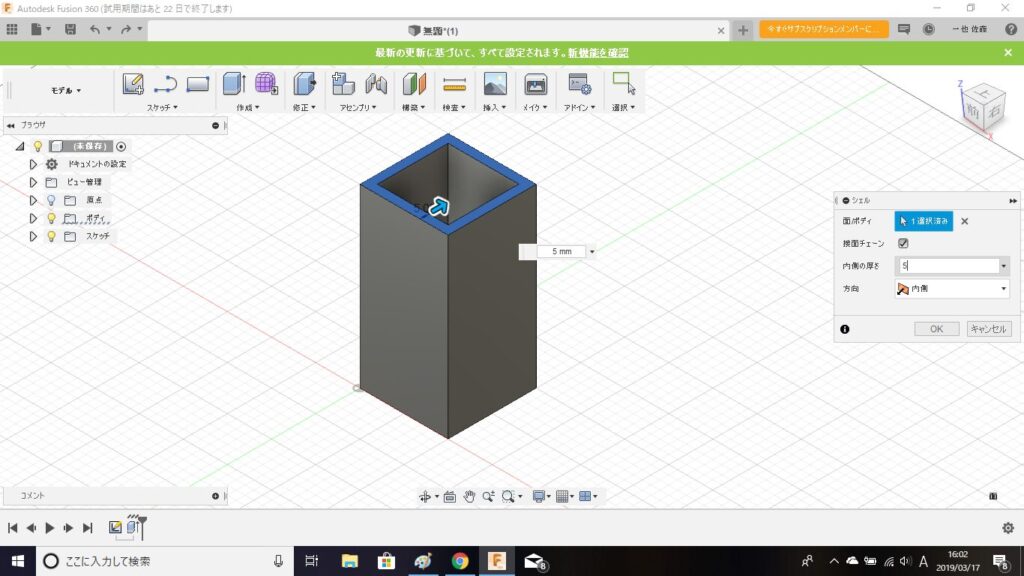
内側の厚みを「5mm」に指定してOKをクリックします。
側面に丸穴を開けるので、スケッチ平面で3Dモデルの側面を選択します。

スケッチツールの「円」を選択します。円作成ツールの「中心と直径で指定した円」を選択します。
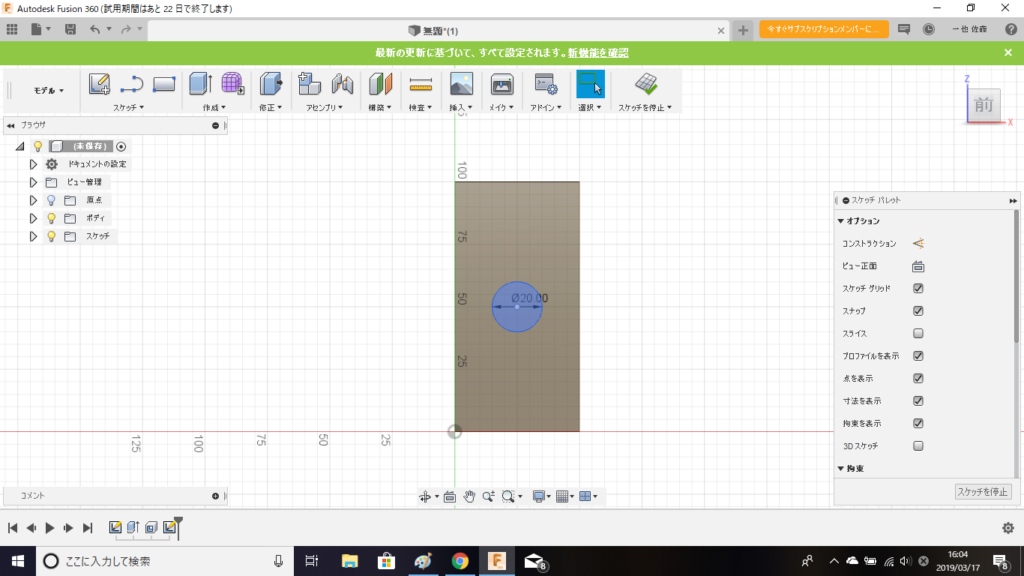
円の中心点と直径を20mmに指定します。
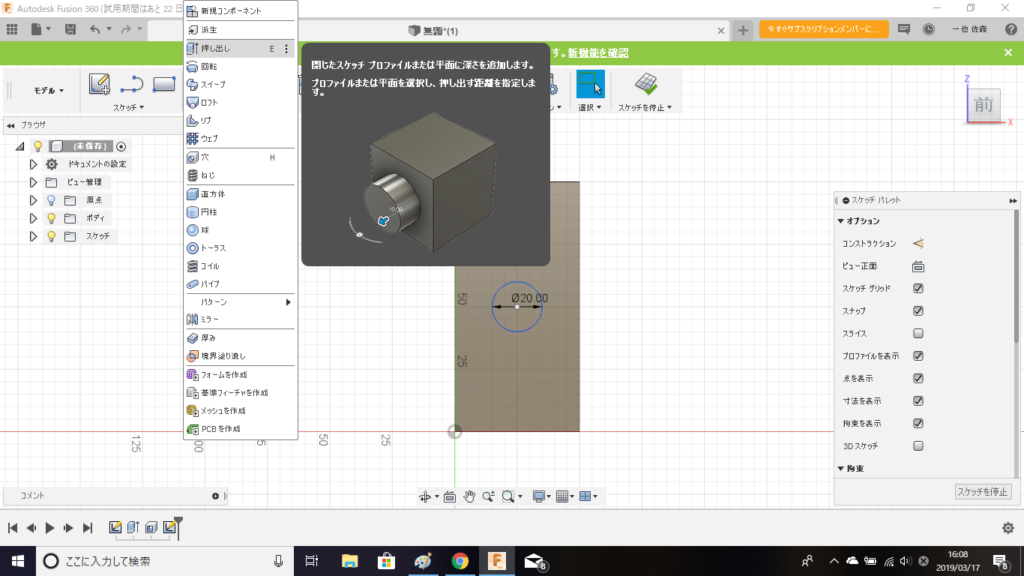
作成ツールの押し出しを選択します。

押し出すスケッチで円を選択します。
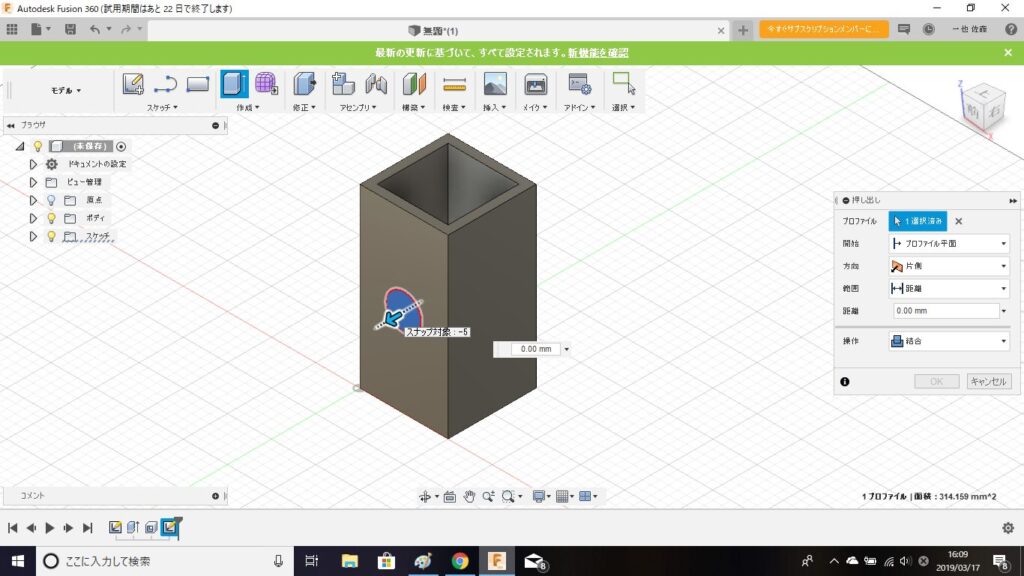
押し出す方向が外側を向いてるので、矢印をクリックして内側に引っ張ります。
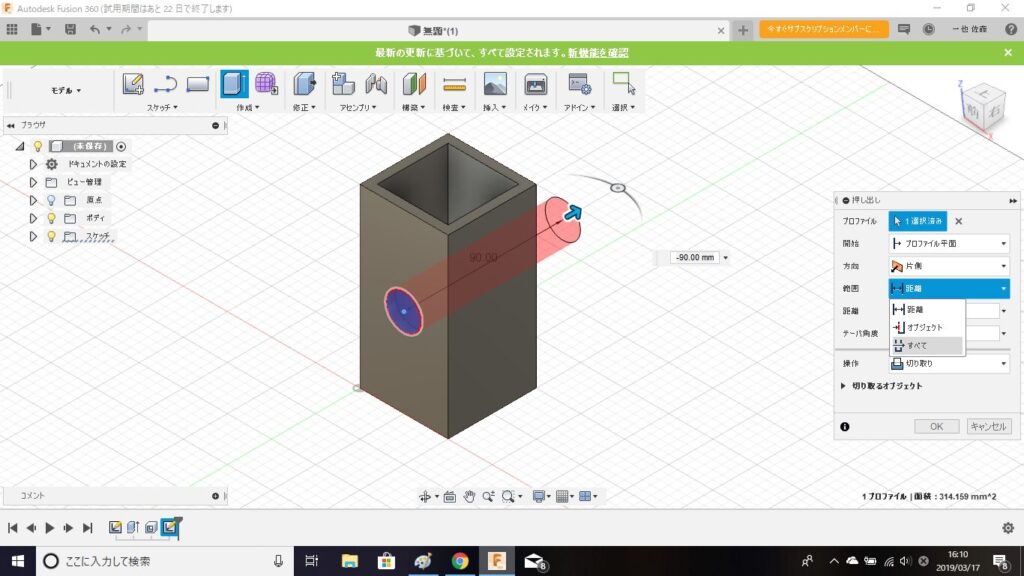
押し出し範囲を距離から全てに変更します。
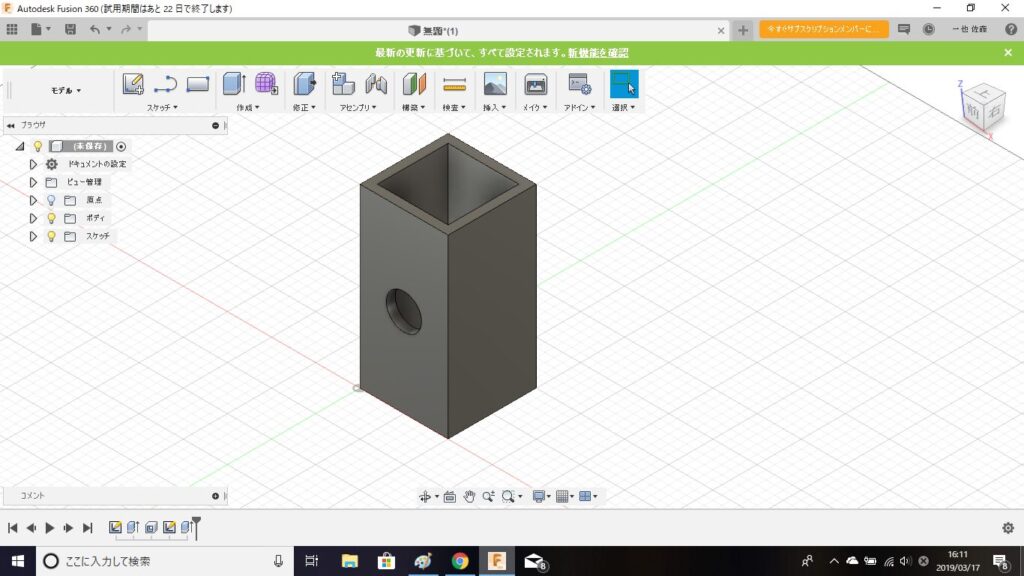
3Dモデルの側面に丸穴が開きました。
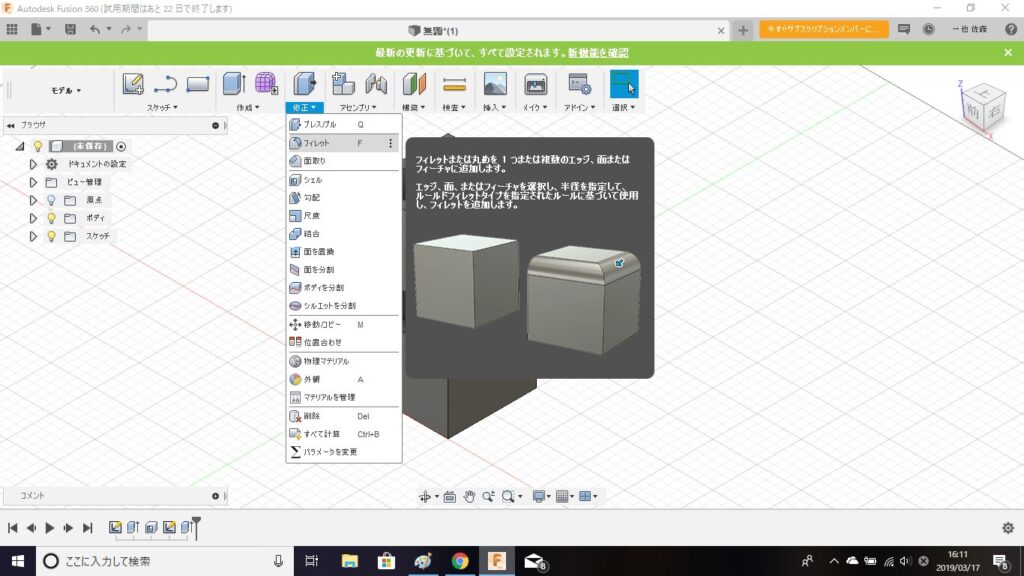
修正ツールのフィレットを選択します。
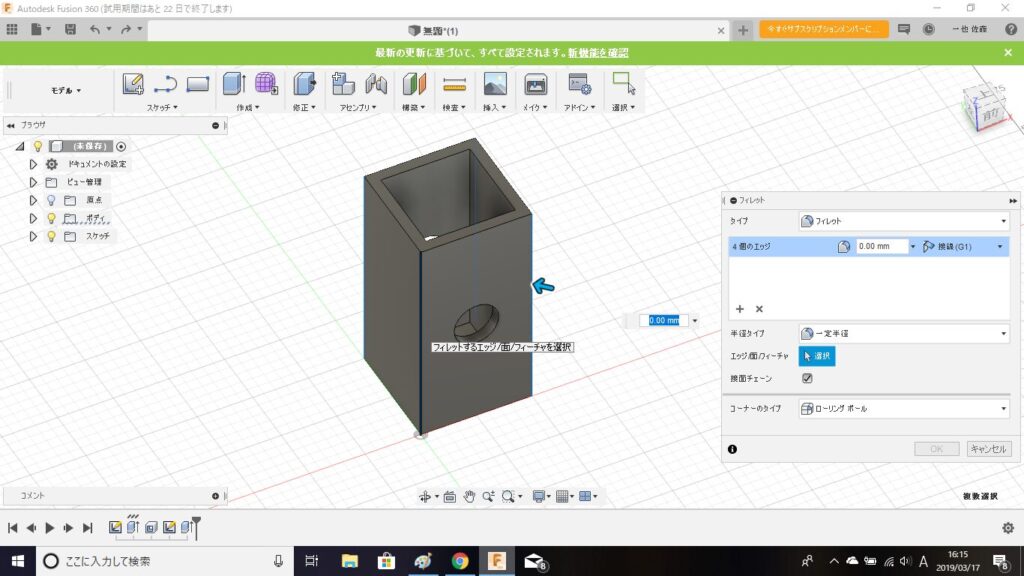
フィレットを作成する辺を選択します。(今回は4辺を選択します。)
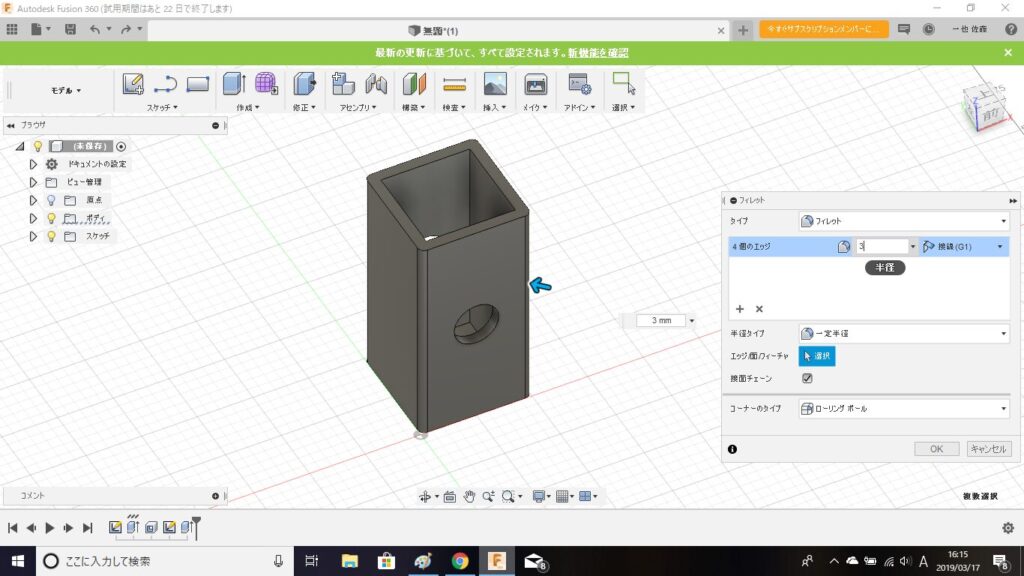
フィレットサイズを3mmに指定してOKをクリックします。

3Dモデルの4辺にフィレットが作成出来ました。
AUTODESK FUSION360 3Dモデルの作成方法②まとめ
3Dモデルの作成方法についてはYouTubeに動画をアップしていますので宜しければ見てみてください。
コメント