本記事ではFUSION360という三次元CADを使って3Dモデルを作成する方法を紹介します。
AUTODESK FUSION360 アプリの使い方
![](https://shashutsuseikeikanagata.net/wp-content/uploads/2024/04/image-64.png)
アプリを立ち上げると、プロジェクト選択画面になるので、「My First Project」を選択します。
![](https://shashutsuseikeikanagata.net/wp-content/uploads/2024/04/image-65.png)
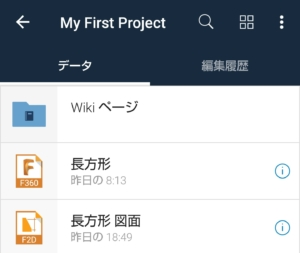
「My First Project」には、これまで作成した3Dモデルや図面などがあるので、今回は長方形の3Dモデルを選択します。
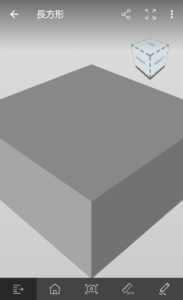
![](https://shashutsuseikeikanagata.net/wp-content/uploads/2024/04/image-66.png)
前回作成した3Dモデルが確認出来ます。
![](https://shashutsuseikeikanagata.net/wp-content/uploads/2024/04/image-67.png)
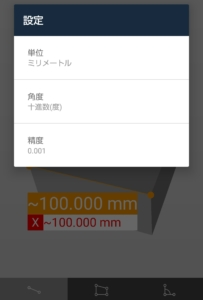
設定項目で単位を「ミリメートル」に設定して、寸法を測定したい二点を指定します。
![](https://shashutsuseikeikanagata.net/wp-content/uploads/2024/04/image-68.png)
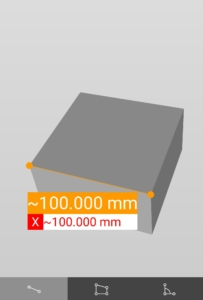
先日作成した通りに100ミリと計測することが出来ました。
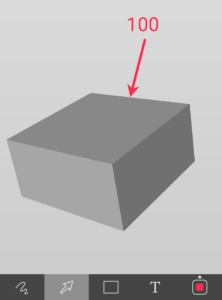
![](https://shashutsuseikeikanagata.net/wp-content/uploads/2024/04/image-69.png)
文字も記入することが出来て便利です。
AUTODESK FUSION360 アプリの使い方 まとめ
3Dモデルの作成方法についてはYouTubeに動画をアップしていますので宜しければ見てみてください。
コメント