本記事ではFUSION360という三次元CADを使って3Dモデルを作成する方法を紹介します。
AUTODESK FUSION360 サーフェスのソリッド化

スケッチ作成を選択します。
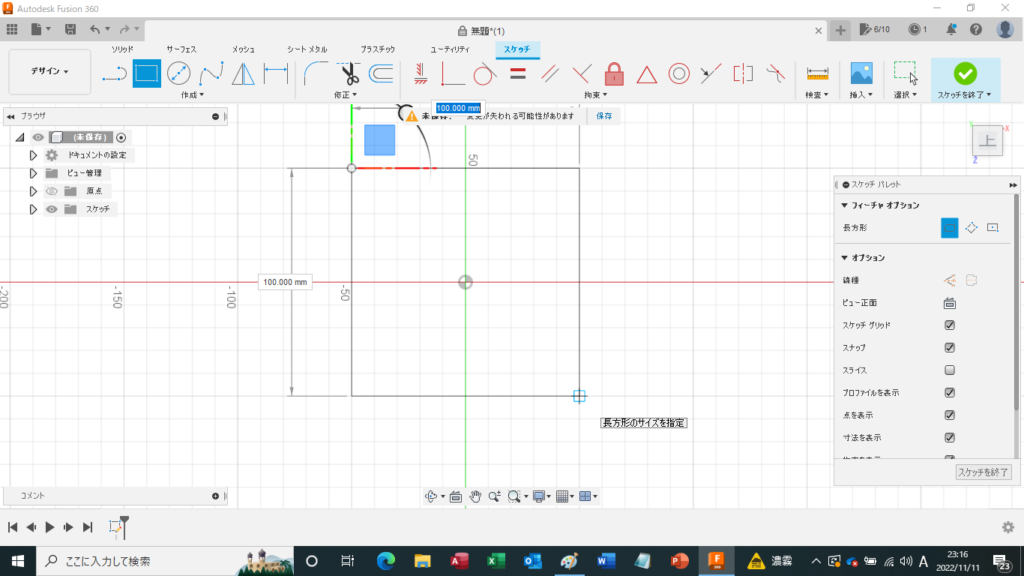
二点指定の長方形を選択します。
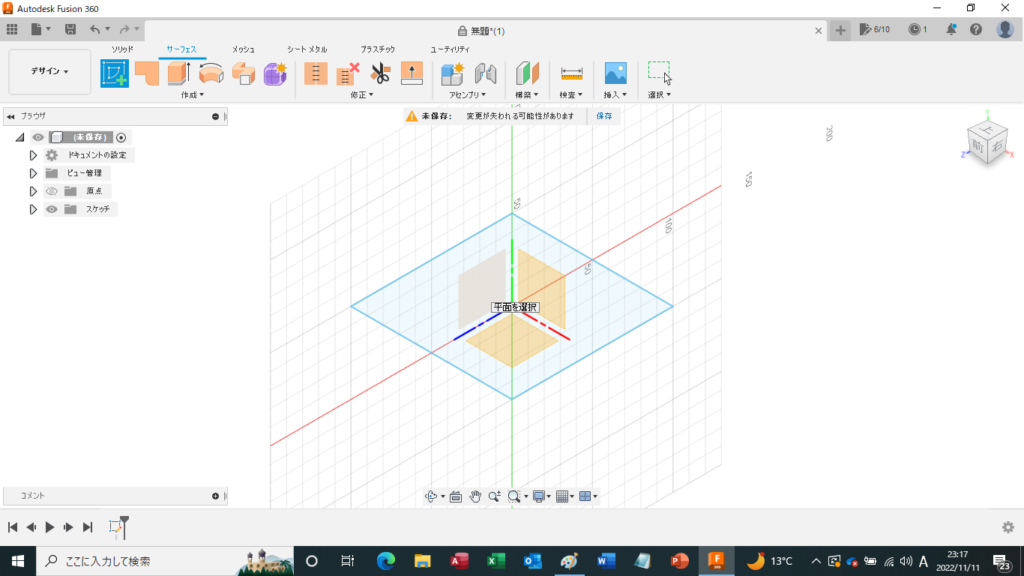
スケッチ作成を選択し、スケッチ平面を選択します。

線分を選択します。
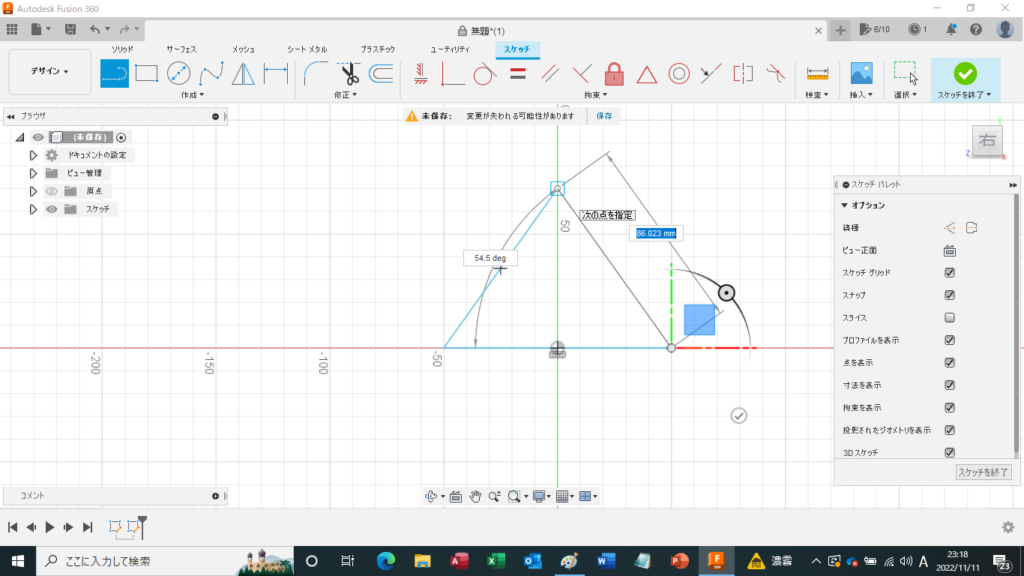
任意の三角形を作成します。

スケッチ作成を選択し、スケッチ平面を選択します。
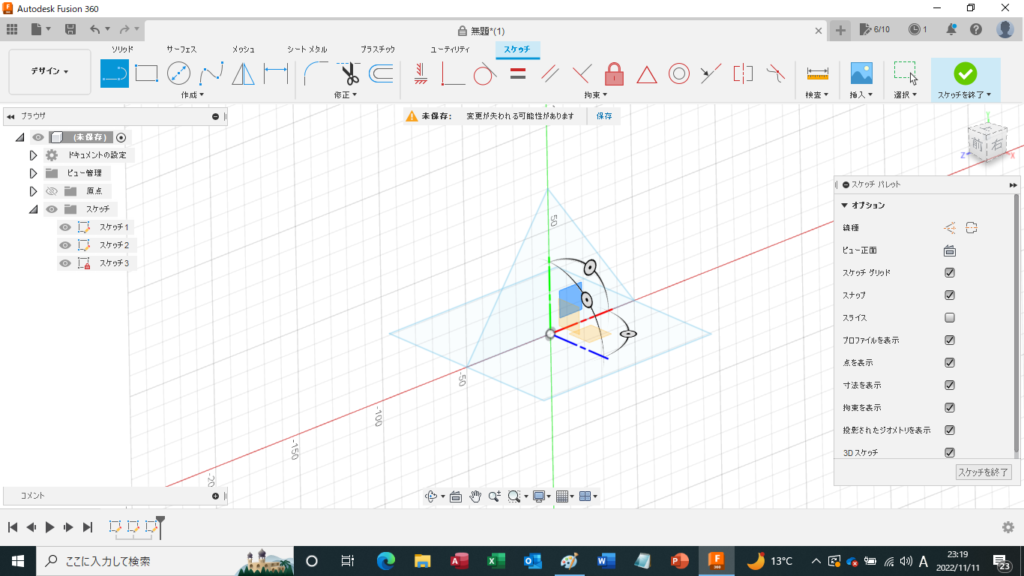
線分を選択します。

三角形の頂点から四角形の角を結び三角形を作成します。
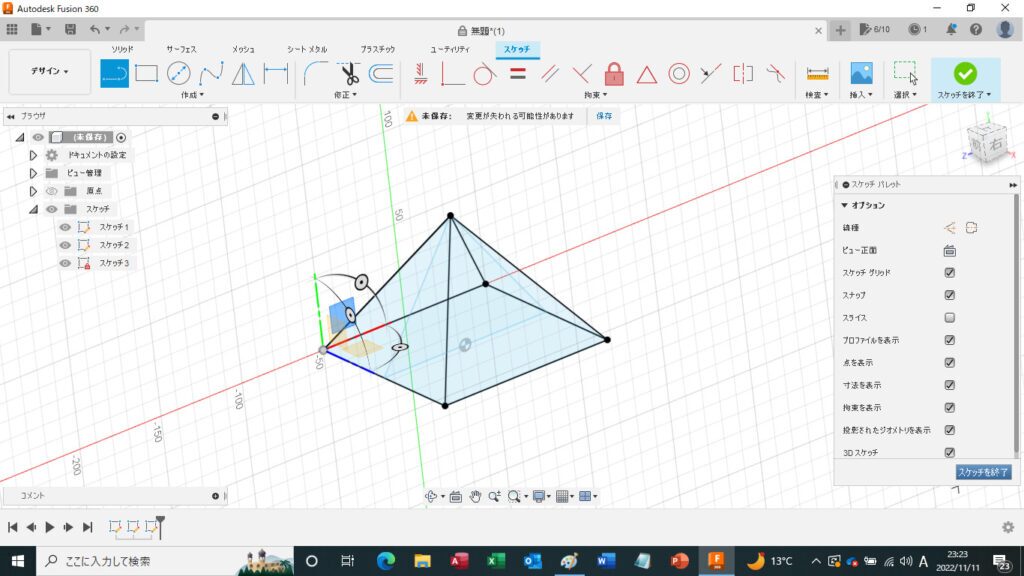
三角形を4面作成します。
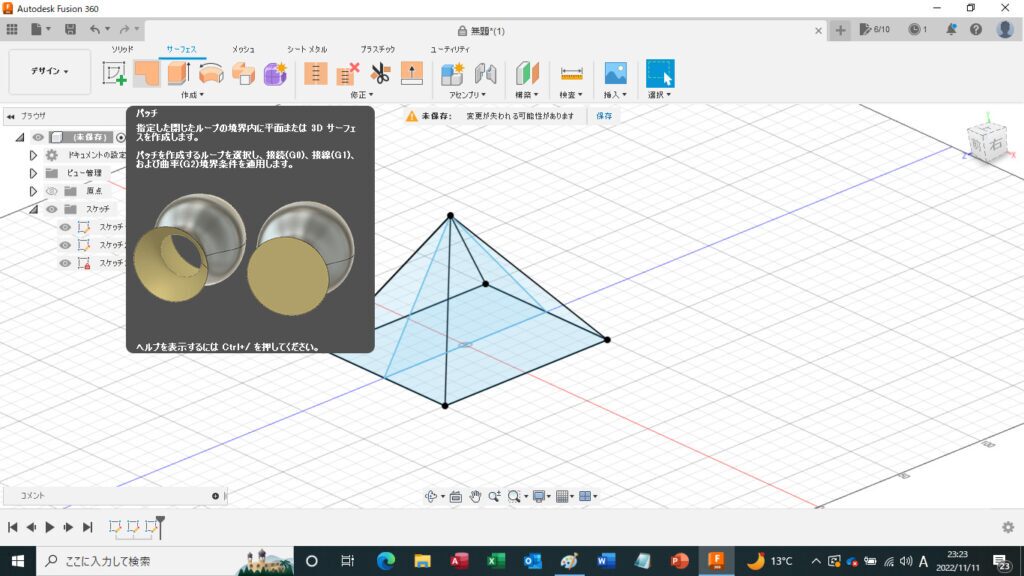
パッチを作成します。
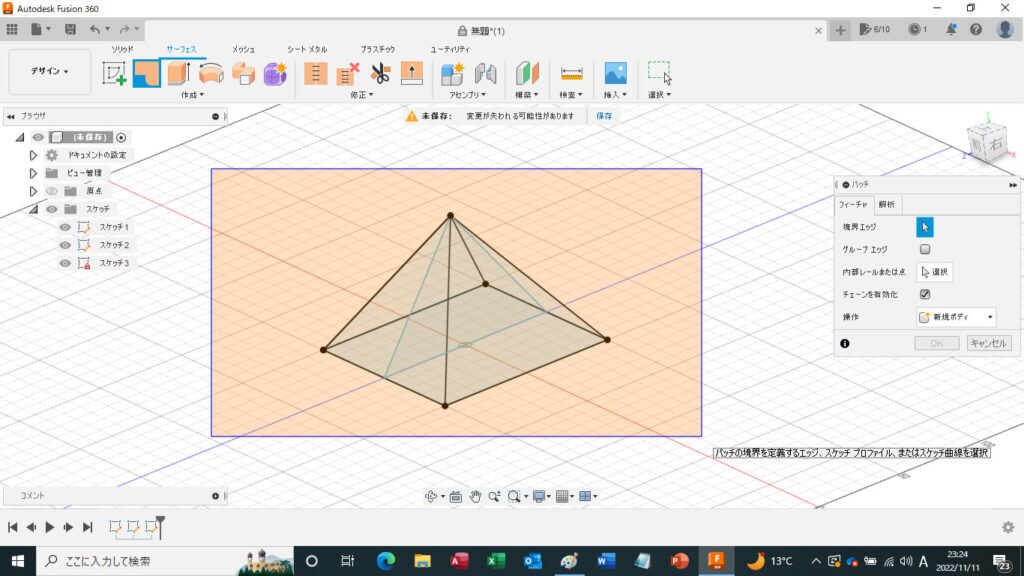
全てのスケッチを選択します。
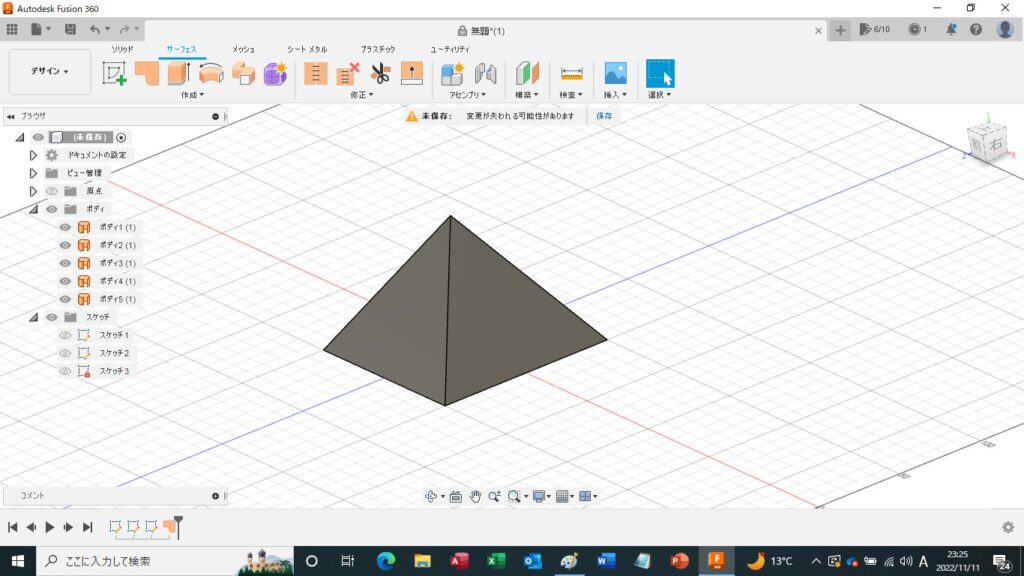
サーフェスが作成できました。
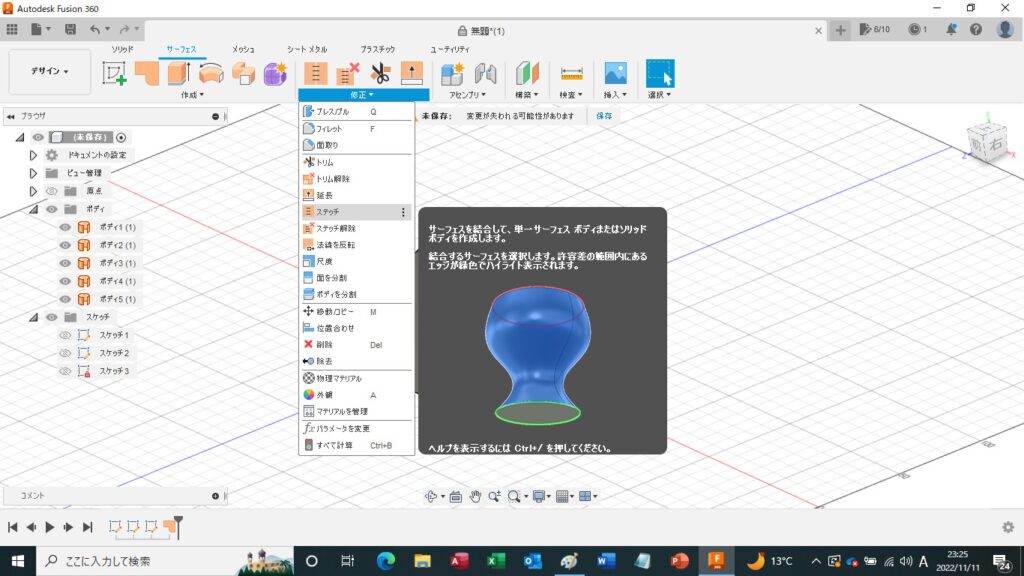
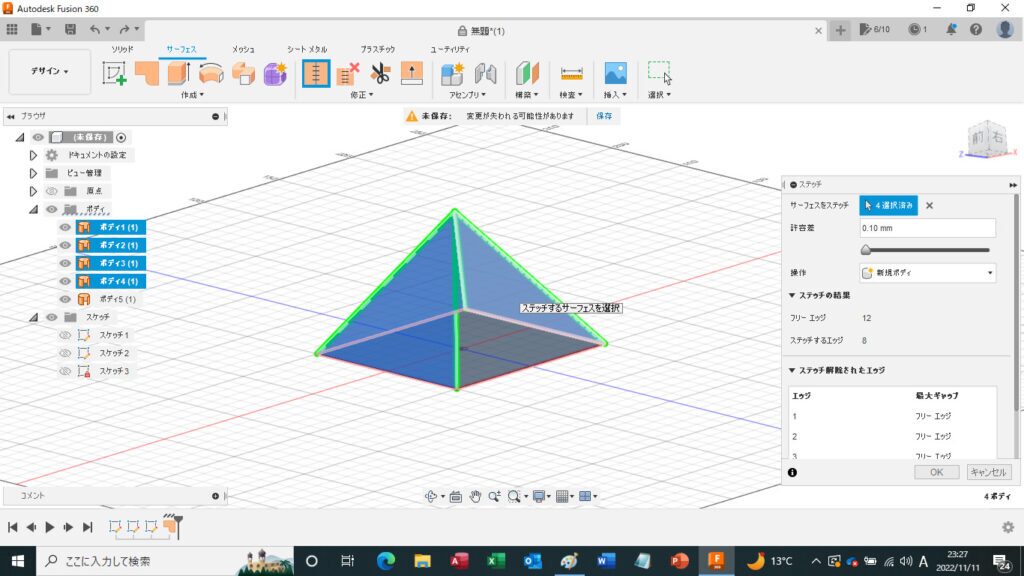
修正メニューのステッチを選択します。
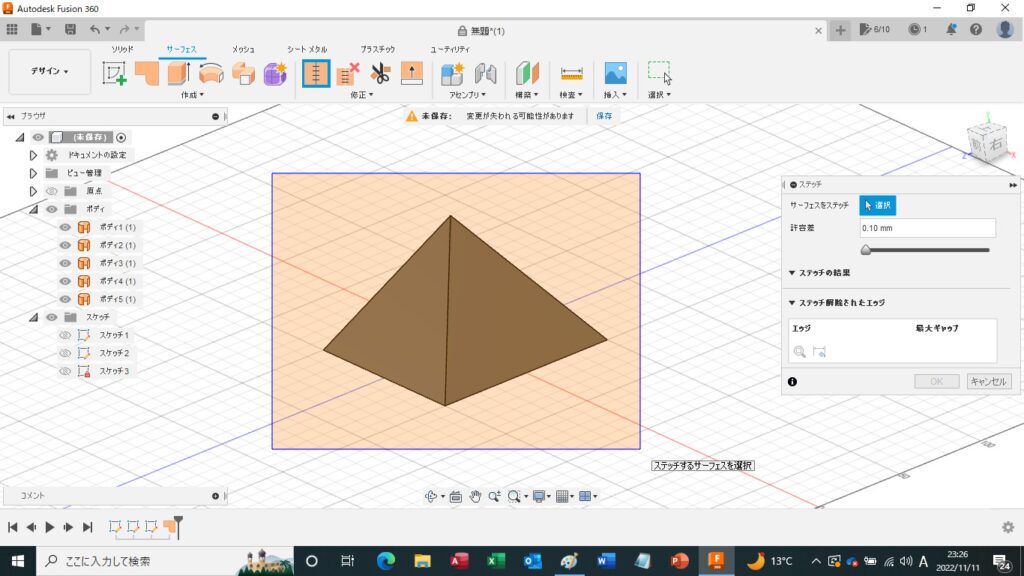
全てのサーフェスを選択します。

OKを選択します。
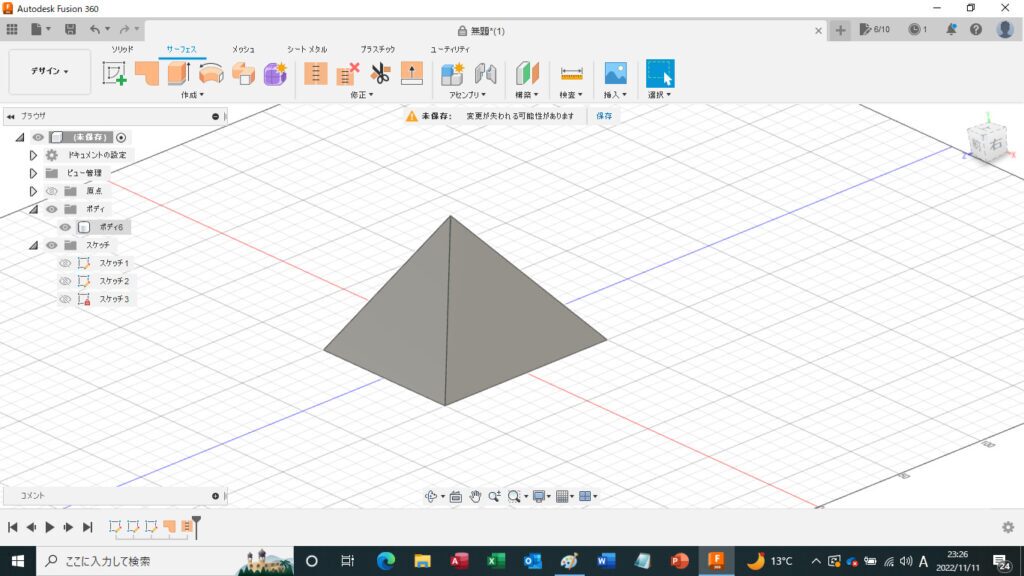
ソリッド化できました。
例えば、上面の4つのサーフェスのみステッチします。
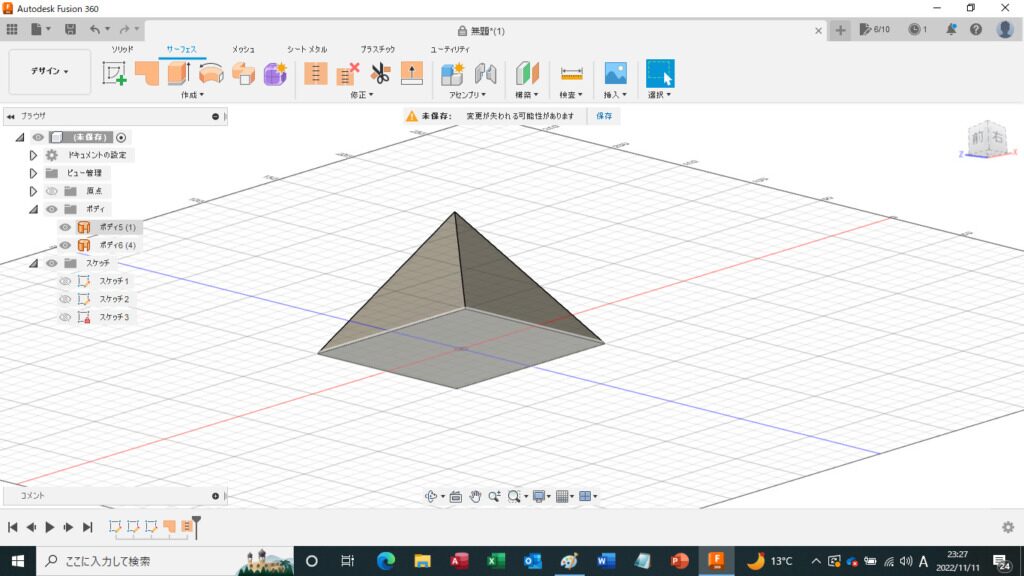
サーフェスが二つできました。
AUTODESK FUSION360 サーフェスのソリッド化 まとめ
3Dモデルの作成方法についてはYouTubeに動画をアップしていますので宜しければ見てみてください。
コメント