本記事ではFUSION360という三次元CADを使って3Dモデルを作成する方法を紹介します。
AUTODESK FUSION360 3Dモデルの作成方法
![](https://shashutsuseikeikanagata.net/wp-content/uploads/2024/03/image-27-1024x576.jpg)
今回は簡単な長方形の作成方法を説明します。
![](https://shashutsuseikeikanagata.net/wp-content/uploads/2024/03/image-27-1-1024x576.jpg)
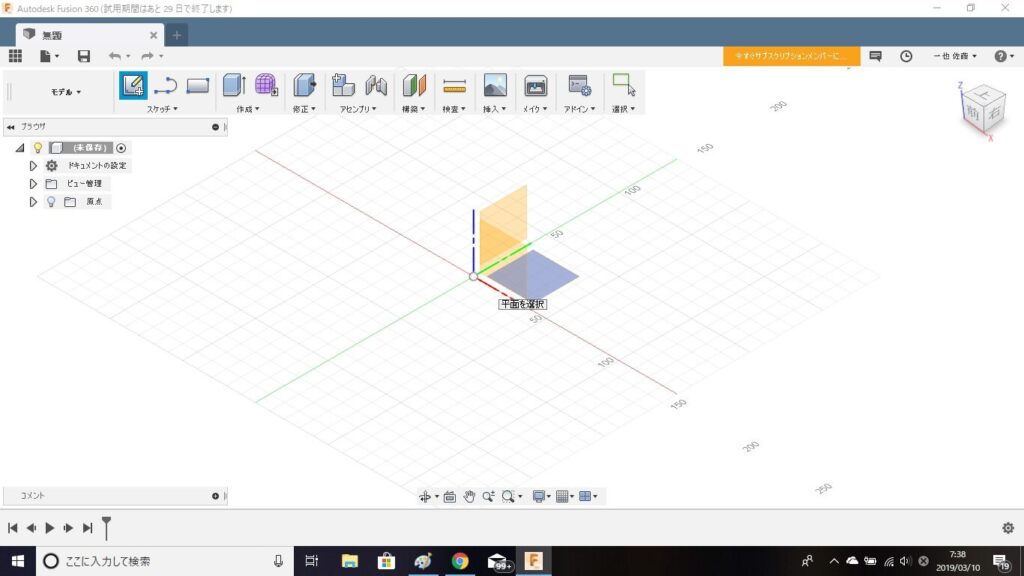
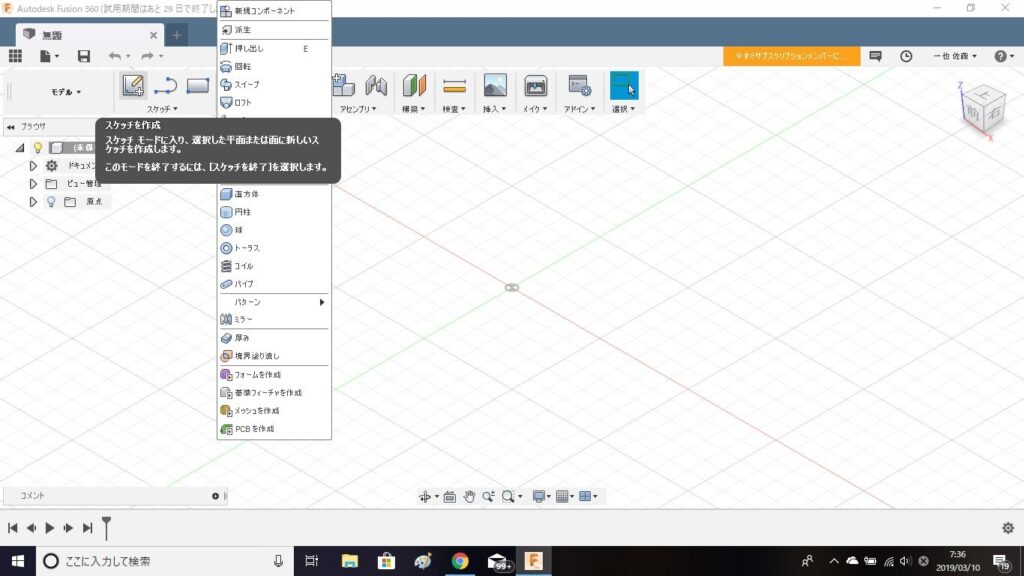
スケッチツールの「スケッチを作成」を選択すると、スケッチ平面を選択するように指示があるので、任意の平面を選択します。
![](https://shashutsuseikeikanagata.net/wp-content/uploads/2024/03/image-27-2-1024x576.jpg)
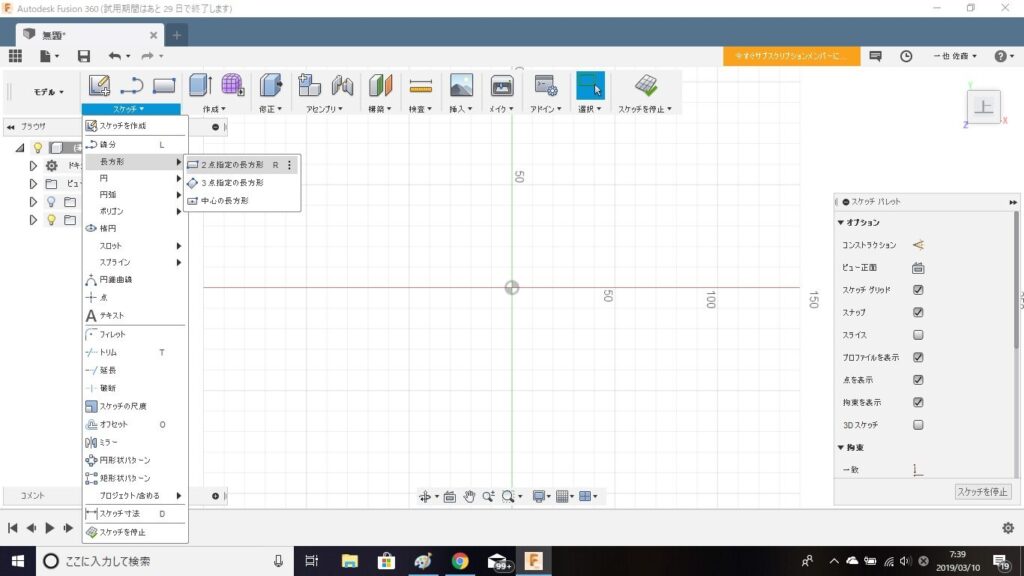
今回は「二点指定の長方形」を作成します。
![](https://shashutsuseikeikanagata.net/wp-content/uploads/2024/03/image-27-3-1024x576.jpg)
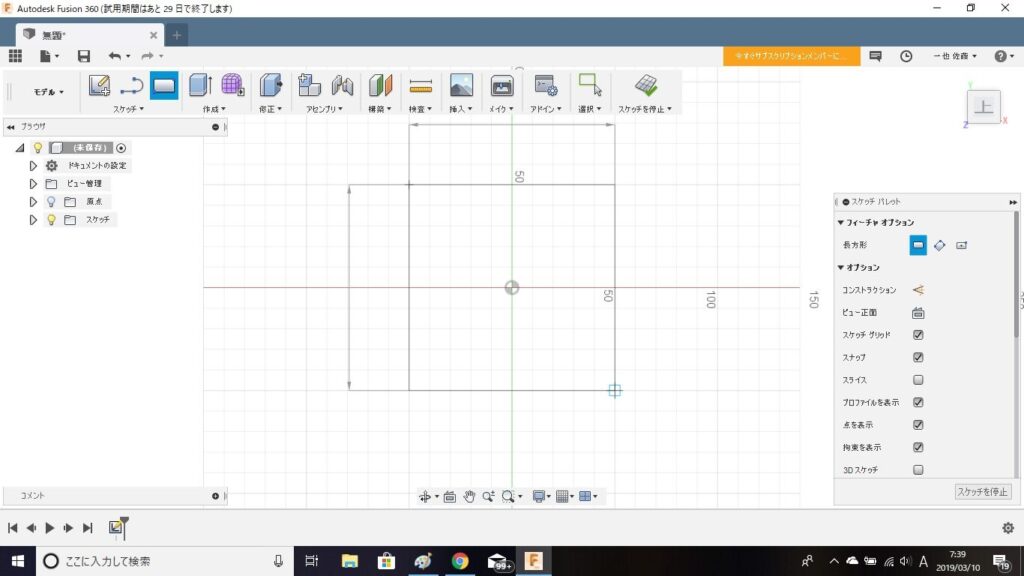
適当な位置で二点指定します。(寸法は後から修正出来ます。)
![](https://shashutsuseikeikanagata.net/wp-content/uploads/2024/03/image-27-4-1024x576.jpg)
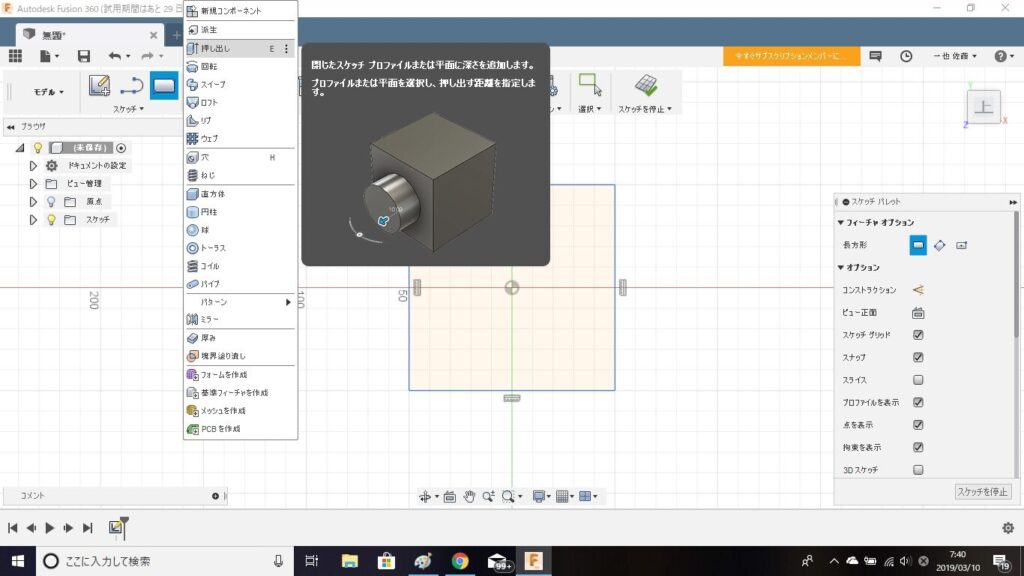
次に作成ツールの中から「押し出し」を選択します。
![](https://shashutsuseikeikanagata.net/wp-content/uploads/2024/03/image-27-5-1024x576.jpg)
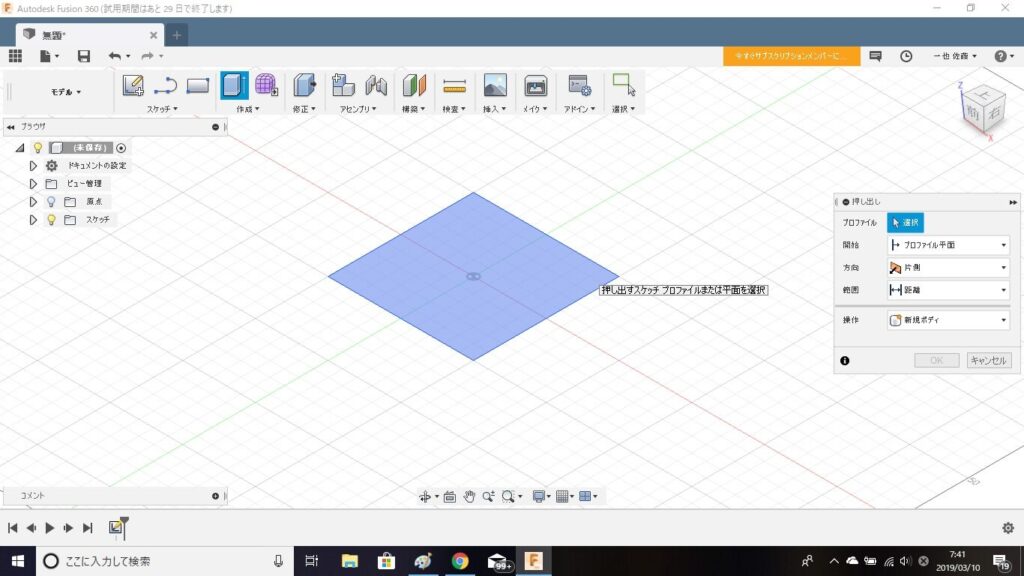
押し出しを選択すると、プロファイルを選択するように指示があるので、先ほど作成したスケッチを選択します。
プロファイル=スケッチと覚えておくと良いです。
![](https://shashutsuseikeikanagata.net/wp-content/uploads/2024/03/image-27-6-1024x576.jpg)
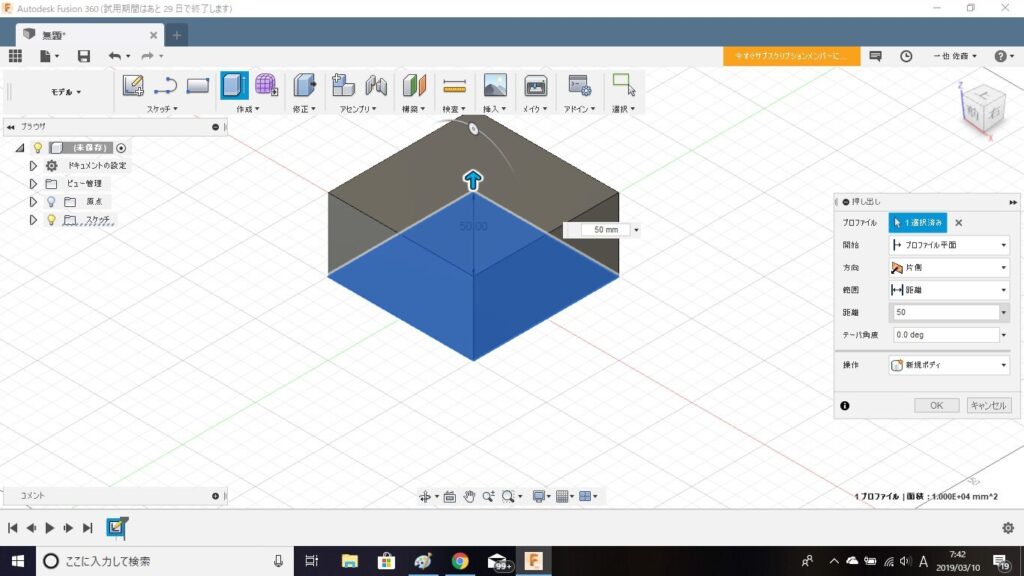
プロファイルを選択したら、押し出す距離を指定します。(今回は50mmで指定します。)
![](https://shashutsuseikeikanagata.net/wp-content/uploads/2024/03/image-27-1024x576.png)
最後に「OK」ボタンをクリックすると長方形が完成します。
AUTODESK FUSION360 3Dモデルの作成方法まとめ
YouTubeにFUSION360でモデリングした動画もアップしています。
コメント